
Welcome to part 4 of my Paperless Classroom series of blog posts. In part 1 I discussed general paperless technology; in part 2 I talked about my own classroom progression through the available tools; and in part 3 I discussed my own tool I created and used in the classroom. In part 4, I want to discuss the next version of my tool in the hope it can become an open source project that others can make use of. If you have not read part 1 to 3, then you may want to have a quick skim through. However, if not, you should still be able to understand what is going on. Here I talk about how I migrated my tool from the HTML, CSS, JavaScript and Google Apps Script creation of the Wurkbuk Management console to the Joomla Wurkbuk website.
I've not mentioned Joomla once on this website (apart from in the CMALT section which will soon be made available for public view), however, it is the tool that I have used since 2006. The first Joomla website I put together for use by others was the one I developed for the ICT club in the first secondary school, I worked in as a trainee teacher. That was version 1.0, and was literally a year after the Joomla project forked from the Mambo project. This very blog uses Joomla as do others that I have created in the past. So, I'm very comfortable with it and feel that it is powerful enough to make websites without too much trouble. I decided to use this due to the support that was available, the open source nature of the project and also the ability to create extensions. I decided that for this version of Wurkbuk, the easiest method to use was to create a Joomla Extension to recreate the functionality of what I had already created in the first prototype. The access rights, which are central to the console was also manageable to a high level in Joomla.
One of the advantages as mentioned before was that I had full control over the database, so would be able to delete student books when necessary, without too much hassle. Also, the space issue would not be a huge factor. With the Google Sites there was technically no limit on the number of pages it could have, and there was no limit to the number of Google Sites your account could contain or create, if using a school or business account. With a personal account, I believe the max number of sites per month you could create was 5 (for the classic Google sites, anyway). As the manager of the sites, I needed to have 100s leading to 1000s, if like I stated, there would be one site per student per subject per year. This would lead to 50 Google Sites for a student doing 10 subjects per year for 5 years. For a small to average school with 600 students (30 students per class, 4 classes in a year group, 5 year groups), this would be 30,000 Google Sites over a 5 year period. This would be excessive.
With the Joomla method, everything would rely on the number of articles a Joomla install could hold. This is because each lesson would be an article, just like each page of a google site would be a lesson. According to this Joomla forum post, a Joomla site database could hold 4,294,967,295 articles (the max number possible for article ID field of field type INT(11) unsigned). So provided that your server could take that amount of capacity and associated bandwidth, this would be able to cater for 2000 students in a school, doing 10 subjects a day, for 195 days in a school year, for 5 years, for 50 schools, with room to spare. This would work.
After a considerable amount of research on the topic and after learning the MVC (Model, View, Controller) framework of PHP programming, I started building my extension. The aim was to create the same functionality without the issues faced. With this in mind the below was created. A different philosophy of creation was developed for this version, which I called the Plan, Teach, Mark model. These represented the three main tasks for a teacher, and I wanted this to be reflected within the software in an easily understandable and actionable fashion. These would therefore become the 3 main functions for Wurkbuk. The first one I worked on was the Teach Function, which aimed to distribute and manage learning materials and resources to the students and monitor them in real time during the lesson, or in preparation for the lesson.
As can be seen there are similarities between the above and the first prototype.
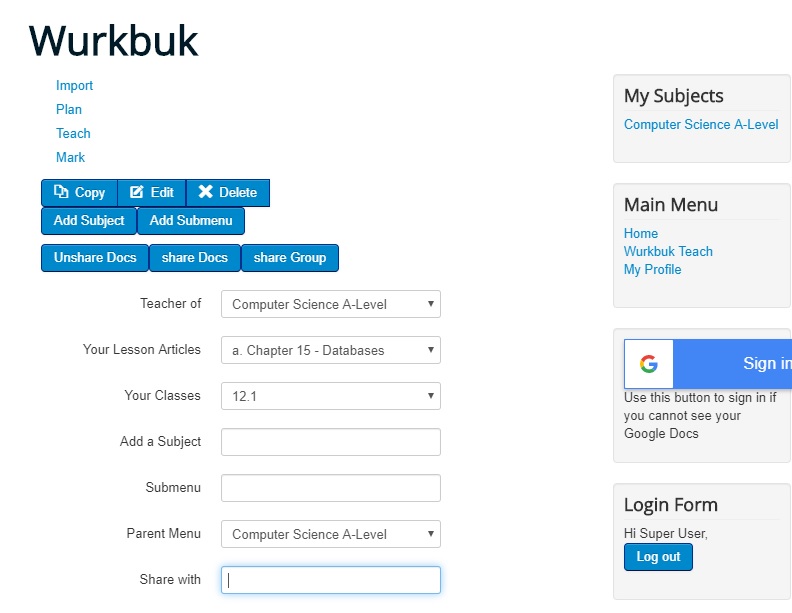
Students having their own site, with a separate URL was no longer possible, as this was what we were trying to eliminate. However, the concept was still possible through Joomla access rights. Therefore there was no need for a copy site button. Instead, the students would have an account, with their own access and view settings and password. This would be created when a student record was imported. Similar to the old version, only the student and their teachers would have access.
Copy: This would be used to copy the lesson page in a similar way to the old version. This would also copy Google docs, sheets or slides on an individual fashion. Before pressing the button, the teacher would enter their subject (teachers could have multiple), they would choose the lesson article they wanted to copy, the class to copy it to and the submenu if it had one (such as group of lessons, or period such as Autumn 1, or summer, or semester 3).
Edit: This would be used to edit a set of lesson pages which had already been created, to add or remove a feature. This would work in a similar way as the copy button.
Delete: This would be used to delete a page which was no longer needed or was created by accident.This would work in a similar way to the copy button.
All these functions, similar to the old version were batch operations and were fairly straight forward to implement using PHP.
Add Subject: This would be used to add another subject that the teacher may be teaching. (E.g. a teacher could teach Computer Science and ICT). The teacher would write the subject in the Add subject text box and then click the button.
Add Submenu: This would be used to add a submenu, like what was explained for the copy description, using the Add submenu textbox.
Share/Unshare docs: This would be used to share or unshare Google documents within student pages, in the same way as the previous version. This could be used to control the lesson flow or for delaying test results.
Share Group: This was created to allow teachers to share the classes with other teachers. This would be in cases where classes had more than one teacher, tutor or TA.
Before any of this could be used, I had to create an import module to get student records into the system.
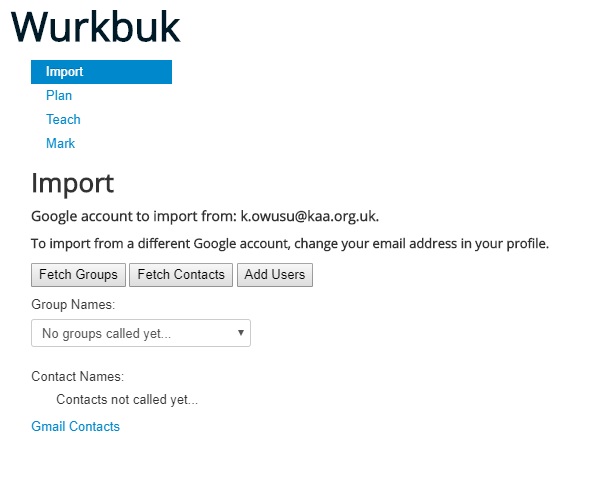
As the system I had used for the old version was based around Google Contacts, the above interface was created and designed to extract Google groups directly from Google Contacts.
Fetch Groups: This would prompt a Google sign in window to appear if an account had not already been signed into. This would then display the Groups associated with the account. As a check, the Google email address would have to match the address on the Joomla account, listed above in the "Google account to import from".
Fetch Contacts: Once a group was selected, clicking this button would then show the contacts and email addresses within that group underneath the "Contact Names: " heading. This would allow the user to check and confirm the students were the correct ones.
Add Users: This button would then import the students into the Joomla database, assigning them to a class/group with the same name as the Google contacts group, and creating access and view settings, ready to assign documents to.
Once this was done, teachers could then use the Wurkbuk Teach function to assign lessons to the students as a class.
But before this could be done, the teacher would have to create the lesson that would be taught. This was done in the Plan section.
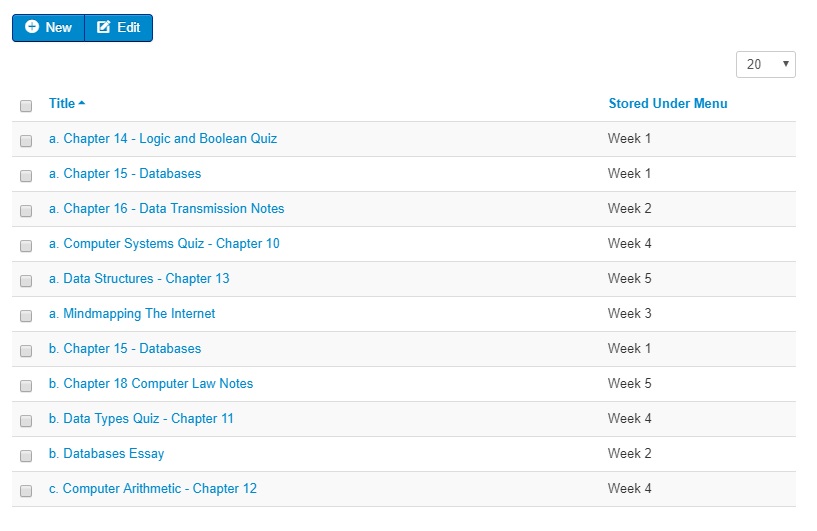
This section was used to create the lessons, and would act as the Master Google Site for the subject. This was an adapted front end Joomla article view, which allowed the teacher to select and create articles, or lesson pages, and store them under subject menus or sub menus.

The teacher would be able to create the page using the Joomla editor or plain HTML, which would allow them to embed resources, such as videos, Google Docs, Prezis and other things. They could then organise the lessons under the subjects and submenus already created.
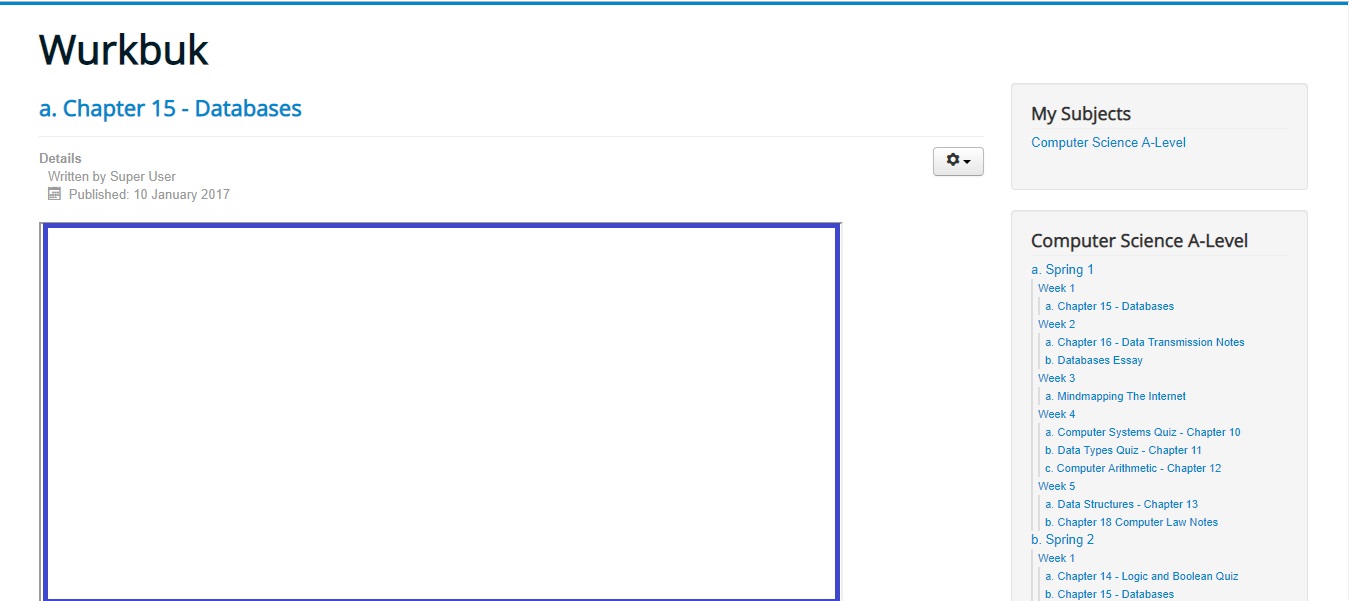
Once all of this was done, the teacher could go back to the main article view and see their articles as well as the students' articles all at the same time. One of the fantastic things about Google docs is that if one was embedded, for students in a class, the main view would actually show the students working in real time from the main view. The menus, submenus and subjects would all be accessible from the menu on the right hand side as can be seen below. Each subject a teacher taught would have a different menu block.
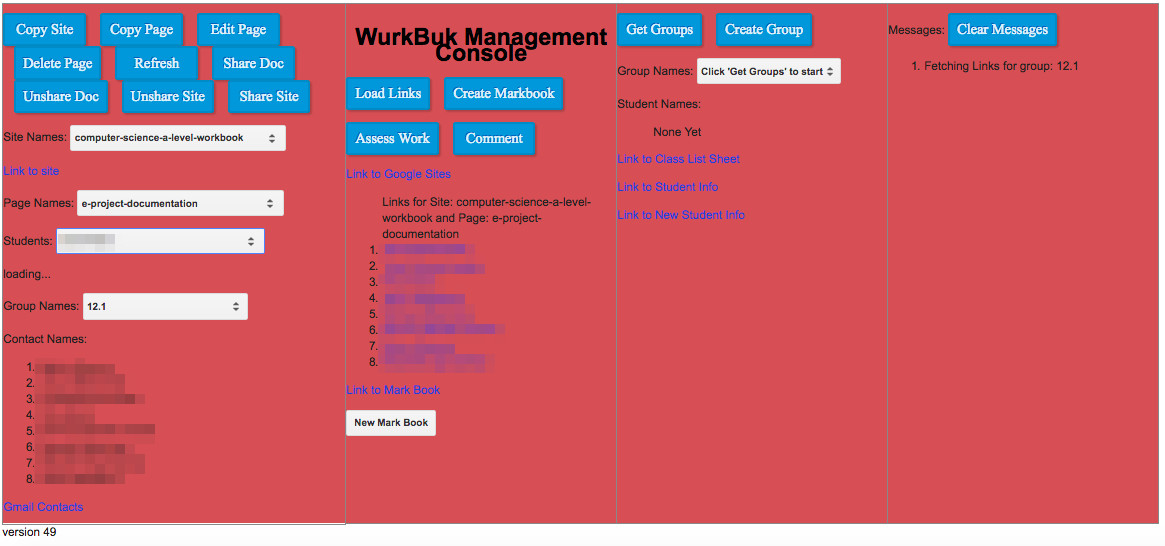
This was pretty much all that was created of this version of Wurkbuk. So what happened next? Well, I was able to use and test this for a few terms with my 6th Form class, and the tests proved to be really useful. In order to not disadvantage the students while I was testing this, I ran the old version of Wurkbuk alongside this, so if this didn't work, they could just go back to the old version and their worksheets were accessible via their old Google Sites. I got some great data and feedback during the time I used this and had plans to improve it further. This was 2017, two years ago and things did not quite work out as I had hoped. So what happened? I'll explain why in part 5, the final installment of my Journey of the Paperless Classroom.
Source: